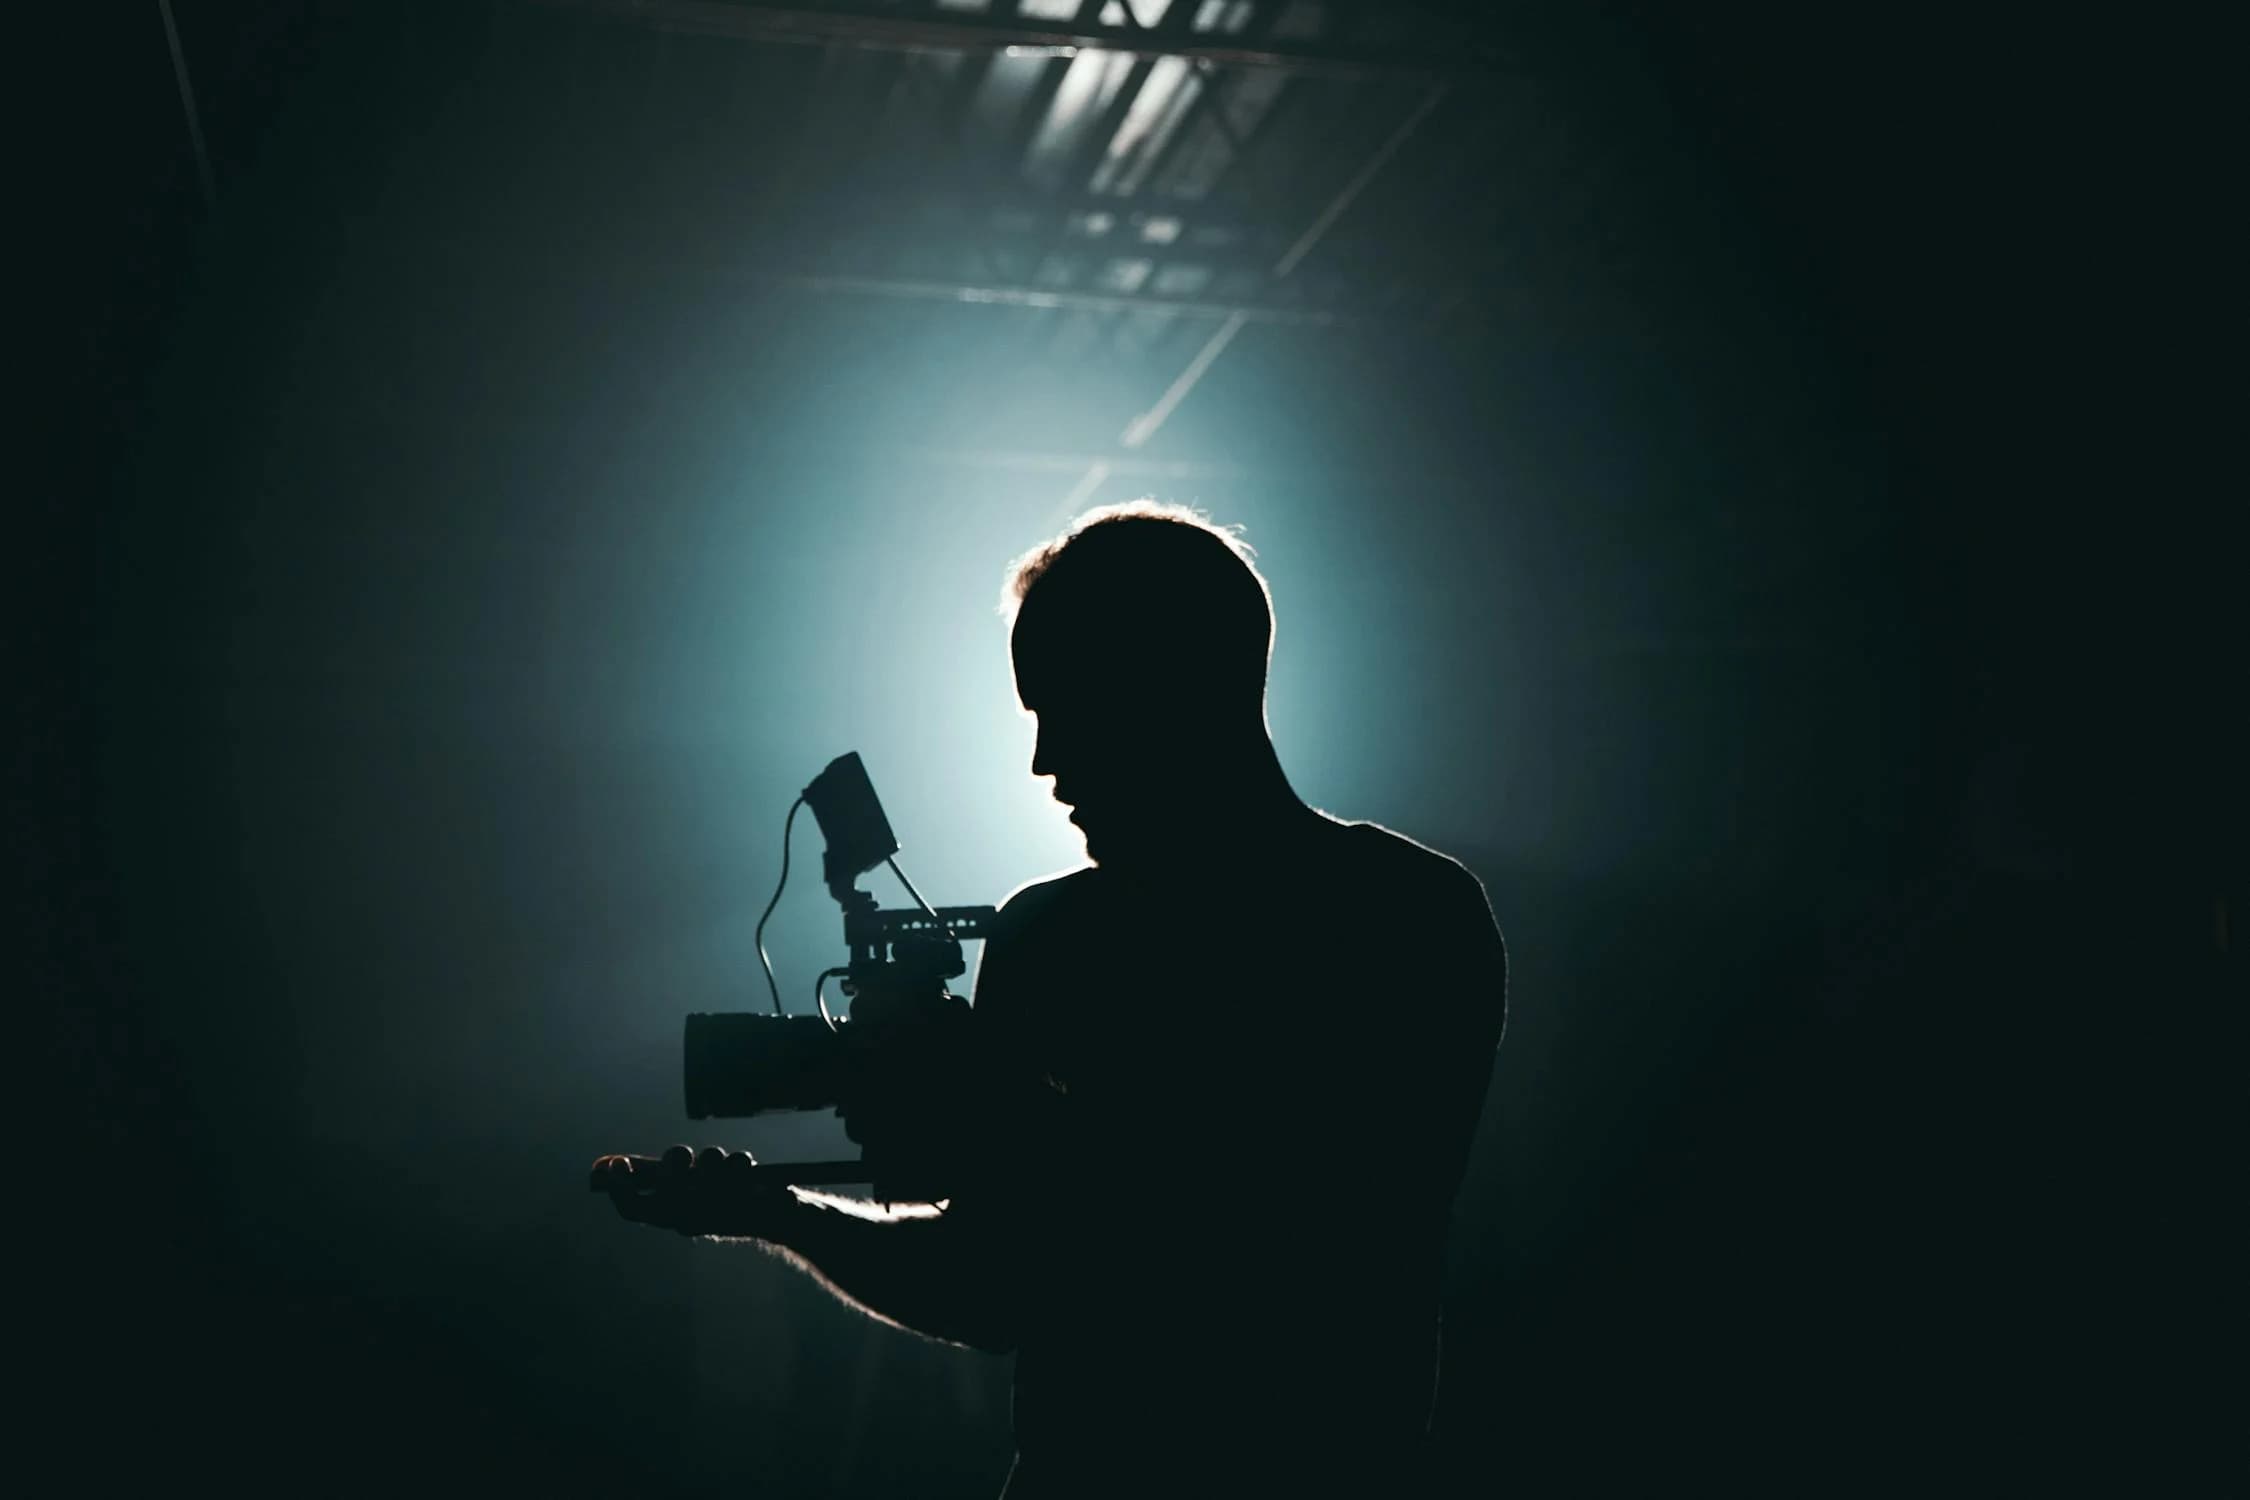
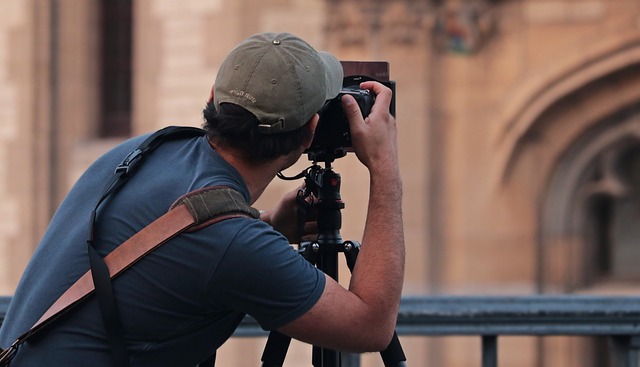
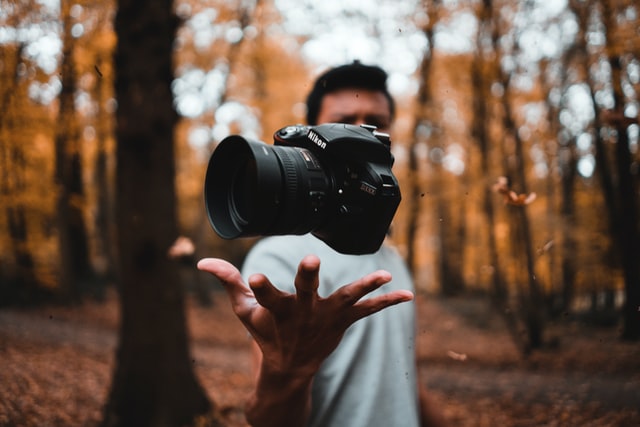
Why photography courses will change the way you see the world
In today’s world, where every moment can be captured and shared in a matter of seconds, the art of photography takes on a new meaning. Despite the accessibility of technology,…
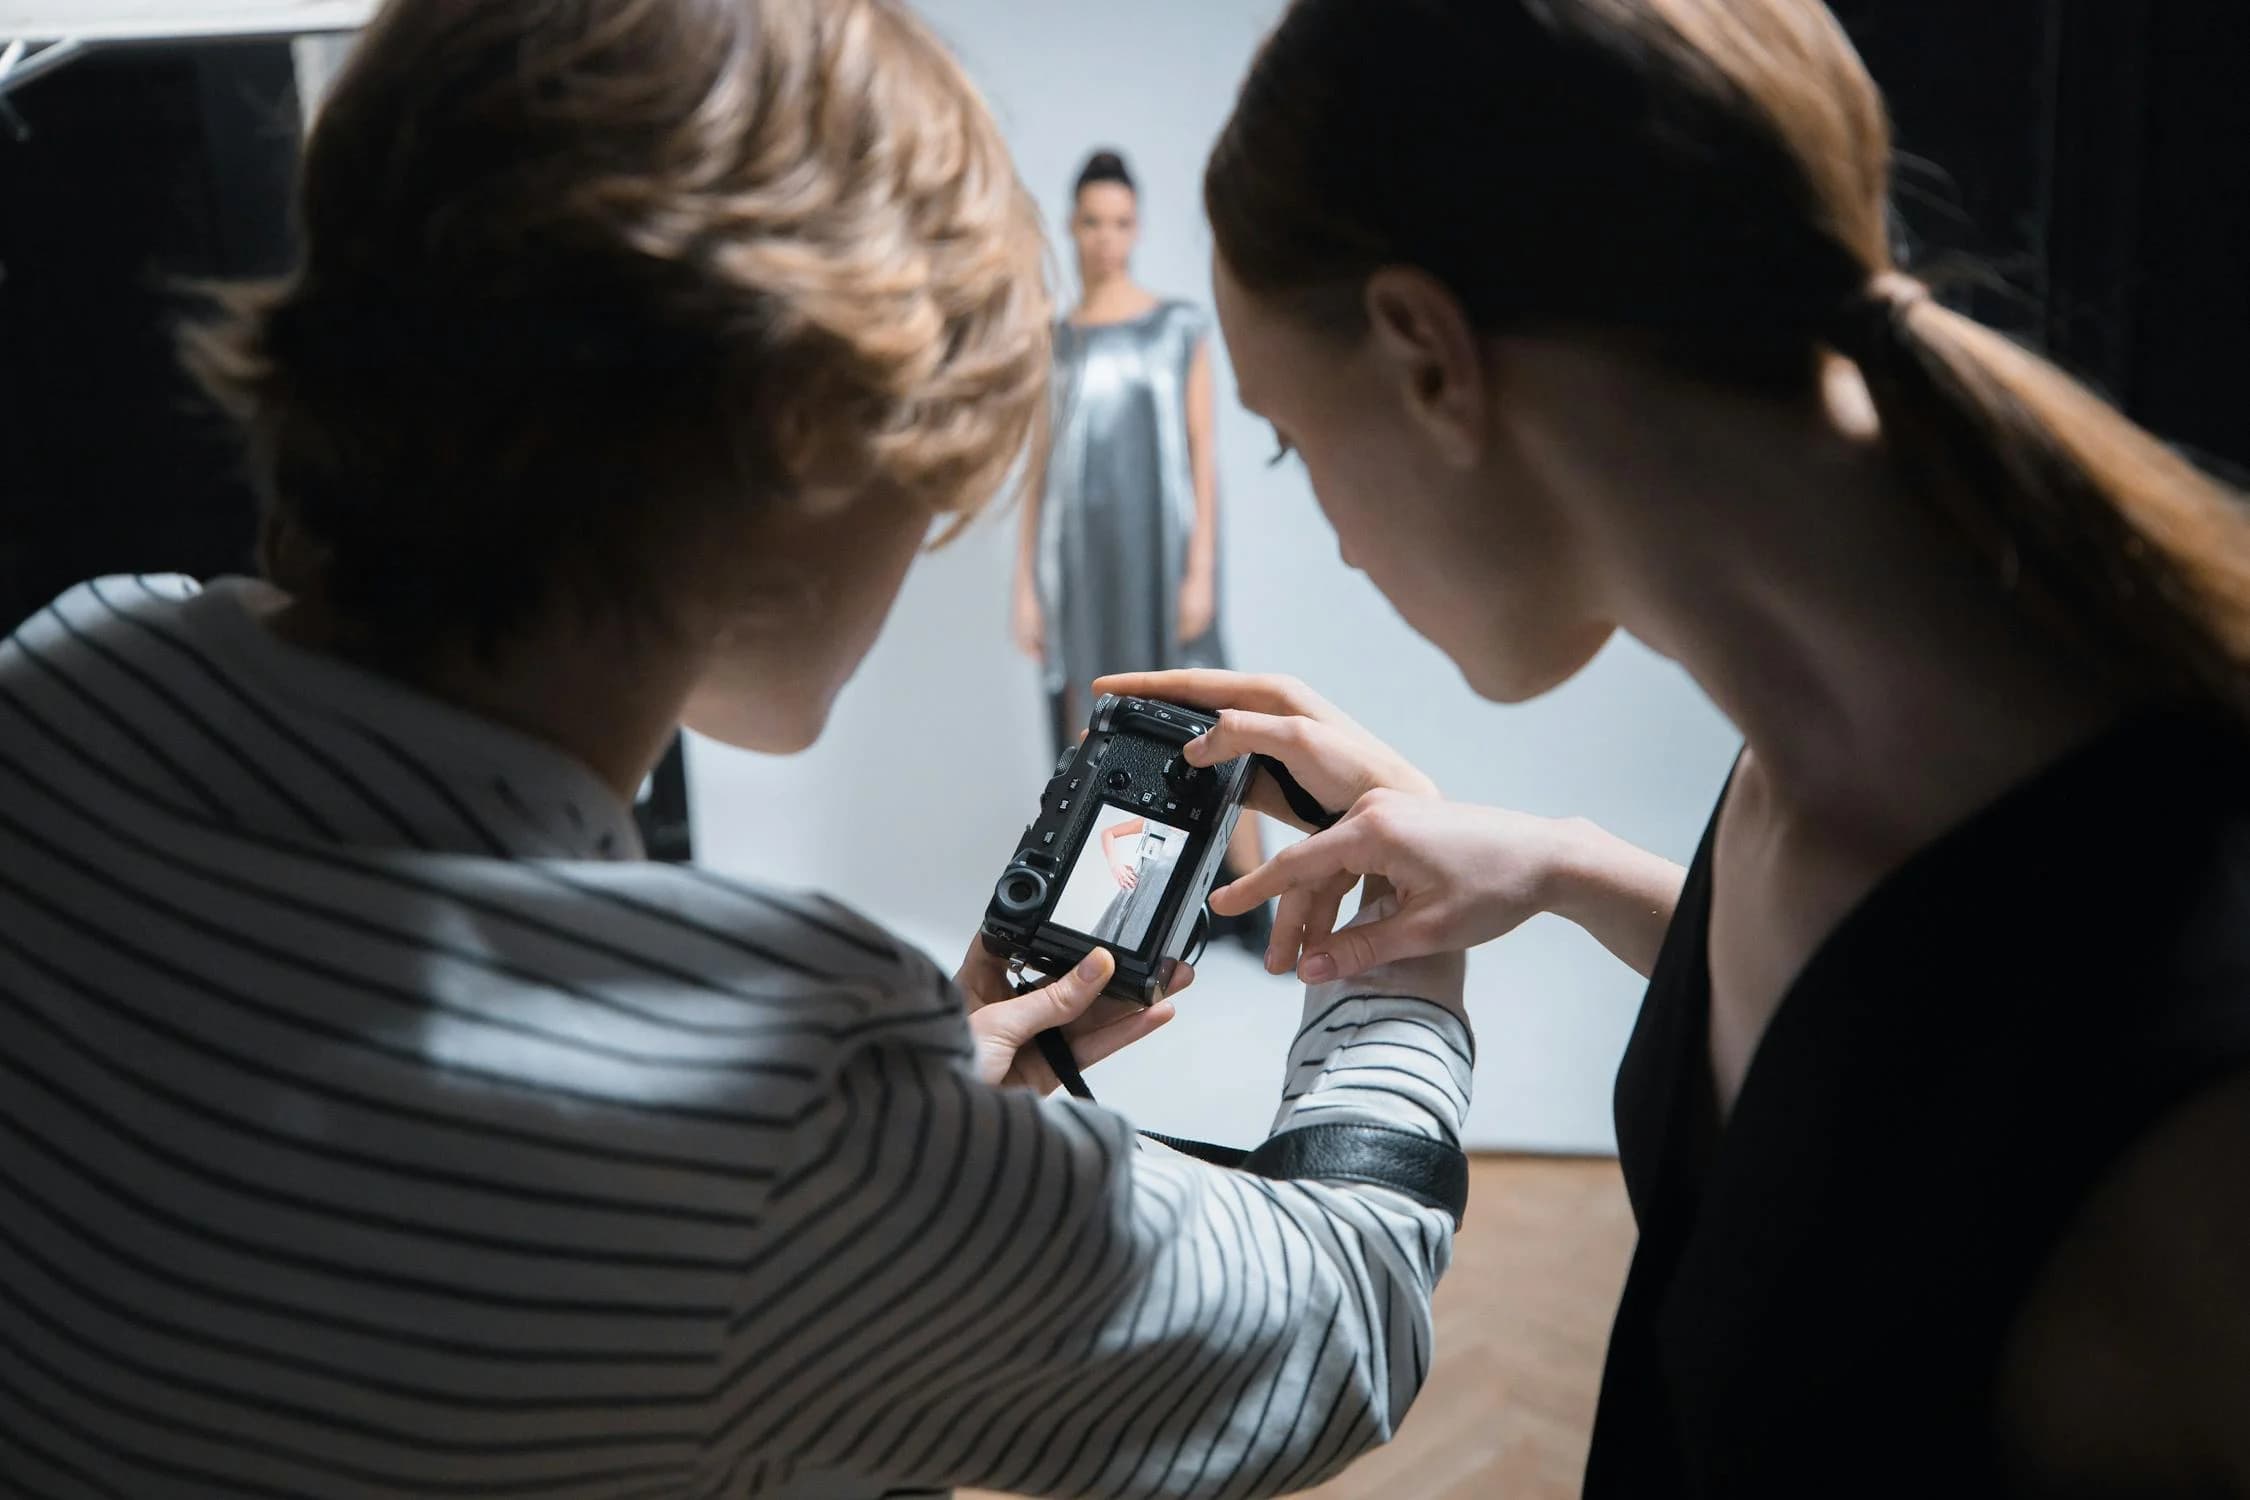
An exclusive guide to photography courses from elite universities
In today’s world, where every moment can be easily captured with a smartphone, the art of photography is still an unrivalled medium for exploring, expressing and preserving deep emotions and…
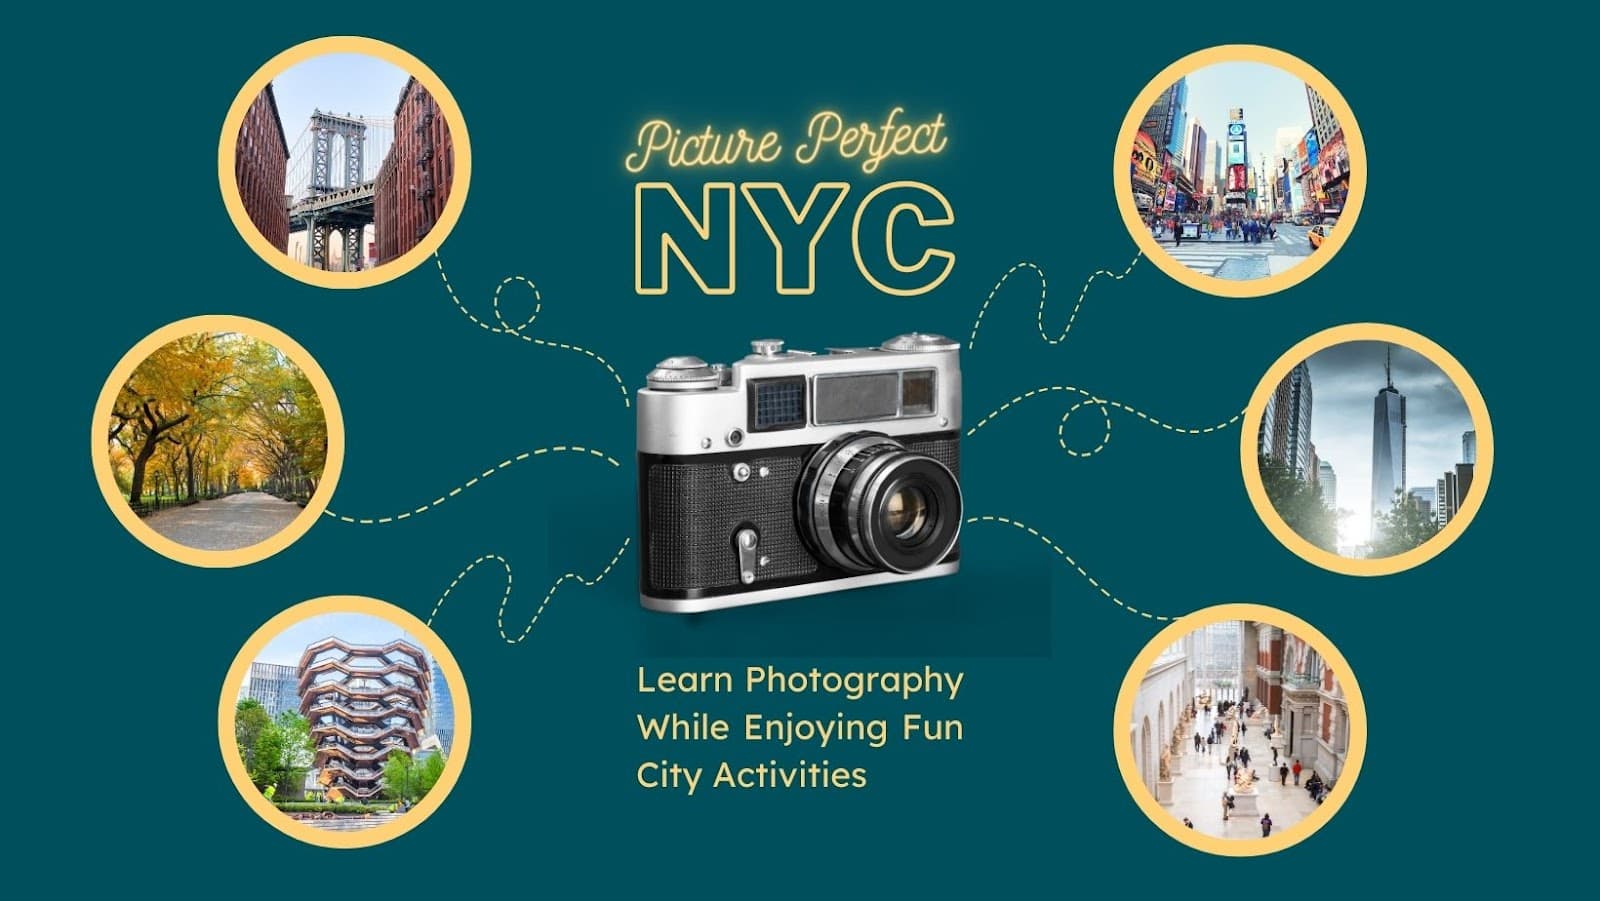
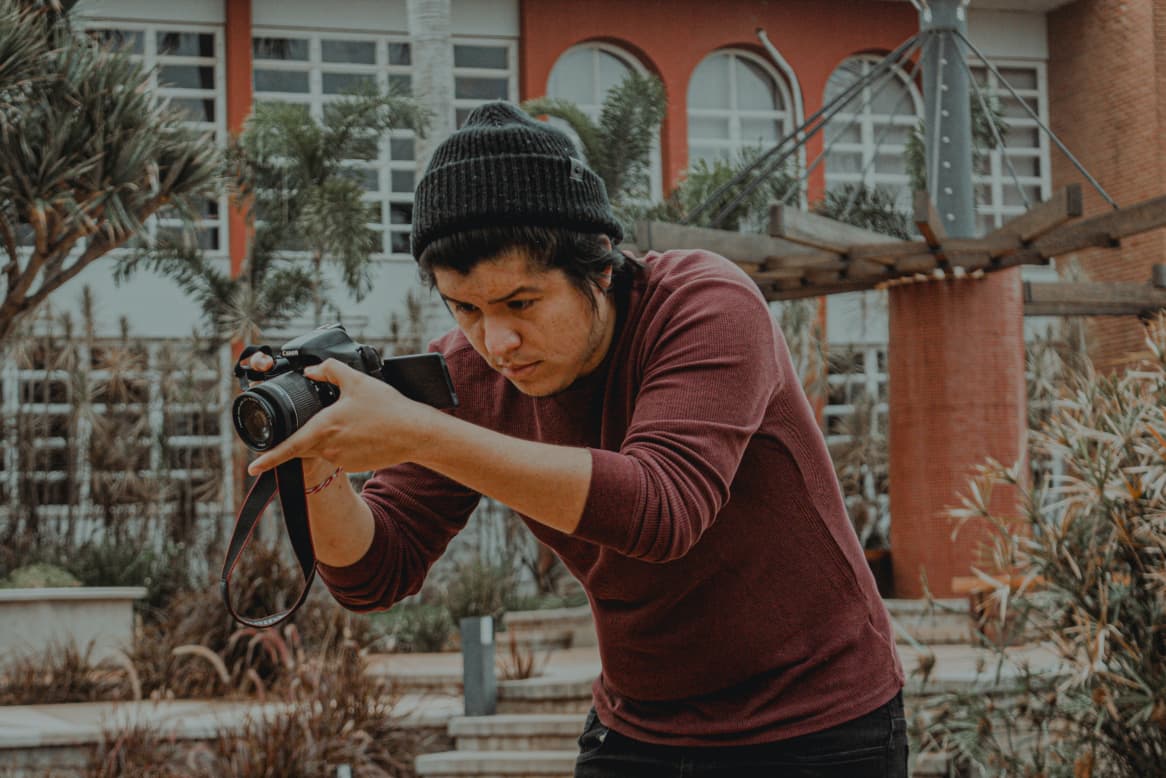
Picture-Perfect NYC: Learn Photography While Enjoying Fun City Activities
New York City has some of the best sightseeing and unique activities for tourists and locals to enjoy. The iconic views and architectural masterpieces in the city make it ideal…
Crypto Gambling: The New Frontier or Just Another Dice Roll?
Gentlemen, gather ’round. We’re diving deep into the world of crypto gambling. Is it the future of gaming or just another fad? Buckle up, because we’re about to unpack the…
Crypto’s Underbelly: Unmasking the Dark Side of Digital Casinos
Gentlemen, we’ve all been there. The allure of the digital dice, the thrill of a crypto slot machine, the high stakes world of Bitcoin blackjack. But as we navigate the…
How Much Does a Photographer Can Earn: A Comprehensive Guide
Photography is an art that can be used to capture memories and tell stories. It is also a lucrative profession that many individuals pursue. If you are considering a career…
Top Tools for Photographers to Convert YouTube Videos
As a photographer, you often need to work with various types of media to create the perfect shot. One of the most common sources of inspiration and learning for photographers…
Just Starting as a Photographer? How to Get Your Foot in the Door
So you’re thinking about taking that step and becoming a professional photographer. You want to serve your community with your beautiful photos, but you’ve no idea where to start. Well,…

How to Start Your Own Photography Business in College
Photography is one of the oldest art forms, dating from the 19th century. Starting your own photography business in college can be a great way to gain experience. Getting started…
Camberwell College of Arts
Founded over a century ago, Camberwell College of Arts is famous for its tradition and has long been regarded as one of the leading art and design colleges in Britain….